
How to Apply a Screen Protector to your Phone
Yess!! Maina’s mshande imeingia and he has been waiting for this money for AGES so that he can finally buy a new phone. His last phone, his dear iPhone 11 Pro Max, was grabbed out of his hand by one of the string of organized criminals on boda-bodas, who have been terrorizing our major cities, but by good luck, they didn’t have a good grip and his phone fell screen first. But wait! His screen cracked. Ooooh nooooo!
It first started off with a small line of crack on his screen, which quickly propagated to a black fluid-like damage spreading from the line of crack outwards, then to the whole left side of his screen not working. Since then, he has been out and about mending his phone’s display. Every time he puts a new display, it just stops responding to touches or it glitches and the most recent repair, the colours are just off and his screen has ghost touches, almost like someone else is using his phone remotely. His friends have been laughing and mocking him for having a bad phone. Some have even started ignoring his calls, and he’s tired. He decides it’s time to restore his pride!
Now. Yes. NOW! He finally got some money to get himself the new iPhone 16 Pro Max, and he needs a new phone case and a screen protector to finally safeguard his phone from cracking again. He has just bought his phone cover and screen protector from Shop Amazing na order imefika. Putting on the phone case is direct, but ooooh, he has never applied a screen protector before. Let us teach Maina and you how to.
How to apply a screen protector
Applying a screen protector can seem tricky, but if you take your time and follow these steps, you can get a bubble-free finish. Here’s a comprehensive guide:
Preparation is Key
- Find a clean workspace: Choose a well-lit area with minimal dust. Some people even suggest doing this in a steamy bathroom (after the steam has settled) as the humidity can help reduce airborne dust.
- Gather your supplies: You’ll need the screen protector, any included cleaning wipes (wet and dry), a dust removal sticker (if provided), and a squeegee or a credit card wrapped in a microfiber cloth (if provided).
- Wash your hands: This prevents transferring oils and dirt to your phone screen.
Clean Your Phone’s Screen Thoroughly:

- Remove any existing case or screen protector.
- Use the wet wipe: Carefully clean your phone’s screen to remove fingerprints, smudges, and any debris.
- Dry the screen: Use the dry wipe to ensure the screen is completely dry. Any moisture left behind can cause issues with adhesion.
- Remove any remaining dust: This is crucial! Use the dust removal sticker (if included) by gently dabbing it across the screen. Inspect the screen at an angle under a light to catch any lingering dust particles.
Align the Screen Protector:
- Peel off the protective layer: This is usually the layer protecting the adhesive side. Be careful not to touch the adhesive side of the screen protector.
- Position the protector: Carefully align the screen protector with your phone’s screen, paying attention to cutouts for the camera, speaker, and buttons. Some protectors come with guide stickers that you can use to create a hinge on one side, making alignment easier.
- Double-check the alignment: Before applying, make sure the protector is perfectly aligned. Once it sticks, it’s difficult to reposition.
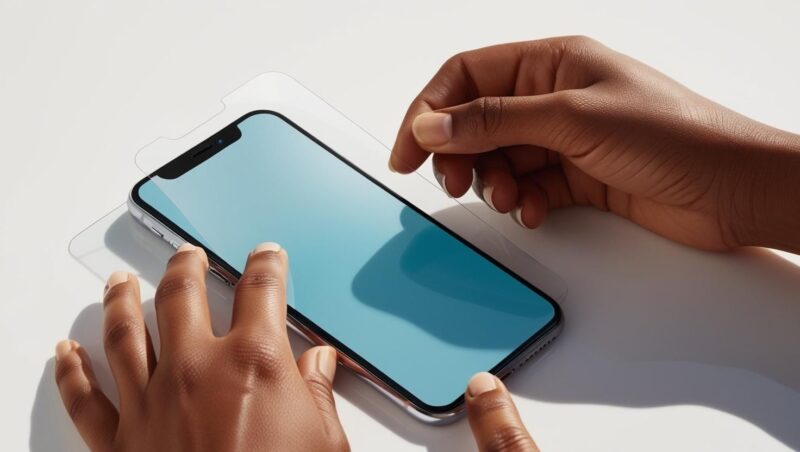
- Apply the Screen Protector:
- Gently place it down: Once aligned, slowly lower the screen protector onto your phone’s screen.
- Press down: Gently press down on the center of the screen protector. The adhesive should start to spread across the screen.
Remove air bubbles: If you see any air bubbles, use the squeegee or a credit card wrapped in a microfiber cloth to push them towards the edges of the screen. Apply gentle, even pressure. Small bubbles may disappear on their own over time.

Final Touches:
- Wipe the screen: Use the microfiber cloth to gently wipe the screen protector and remove any fingerprints or smudges.
- Check for any remaining bubbles: If there are still stubborn bubbles, try gently pushing them towards the edges again.
Tips for a Perfect Application:
- Take your time: Rushing the process increases the chances of mistakes and bubbles.
- Work in a well-lit area: This helps you see dust and align the protector accurately.
- Consider using the hinge method: This provides more control during application.
- Don’t panic about small bubbles: Most will disappear within a day or two.
- If you get dust under the protector: Gently lift the protector near the dust particle using a piece of tape and use another piece of tape to lift the dust off the screen or the protector’s adhesive side before reapplying.
By following these steps carefully, you should be able to apply your screen protector smoothly and effectively, keeping your phone’s screen protected from scratches and minor damage.
Add a review
Your email address will not be published. Required fields are marked *